Photo Booth Image Quality: Why Our Photos Beat a Phone Snapshot
Megapixels, the 300 DPI rule, white balance, and noise — the three things that decide whether an event photo prints sharp or falls apart. What professional capture actually controls, and why it matters for guest prints and brand assets.
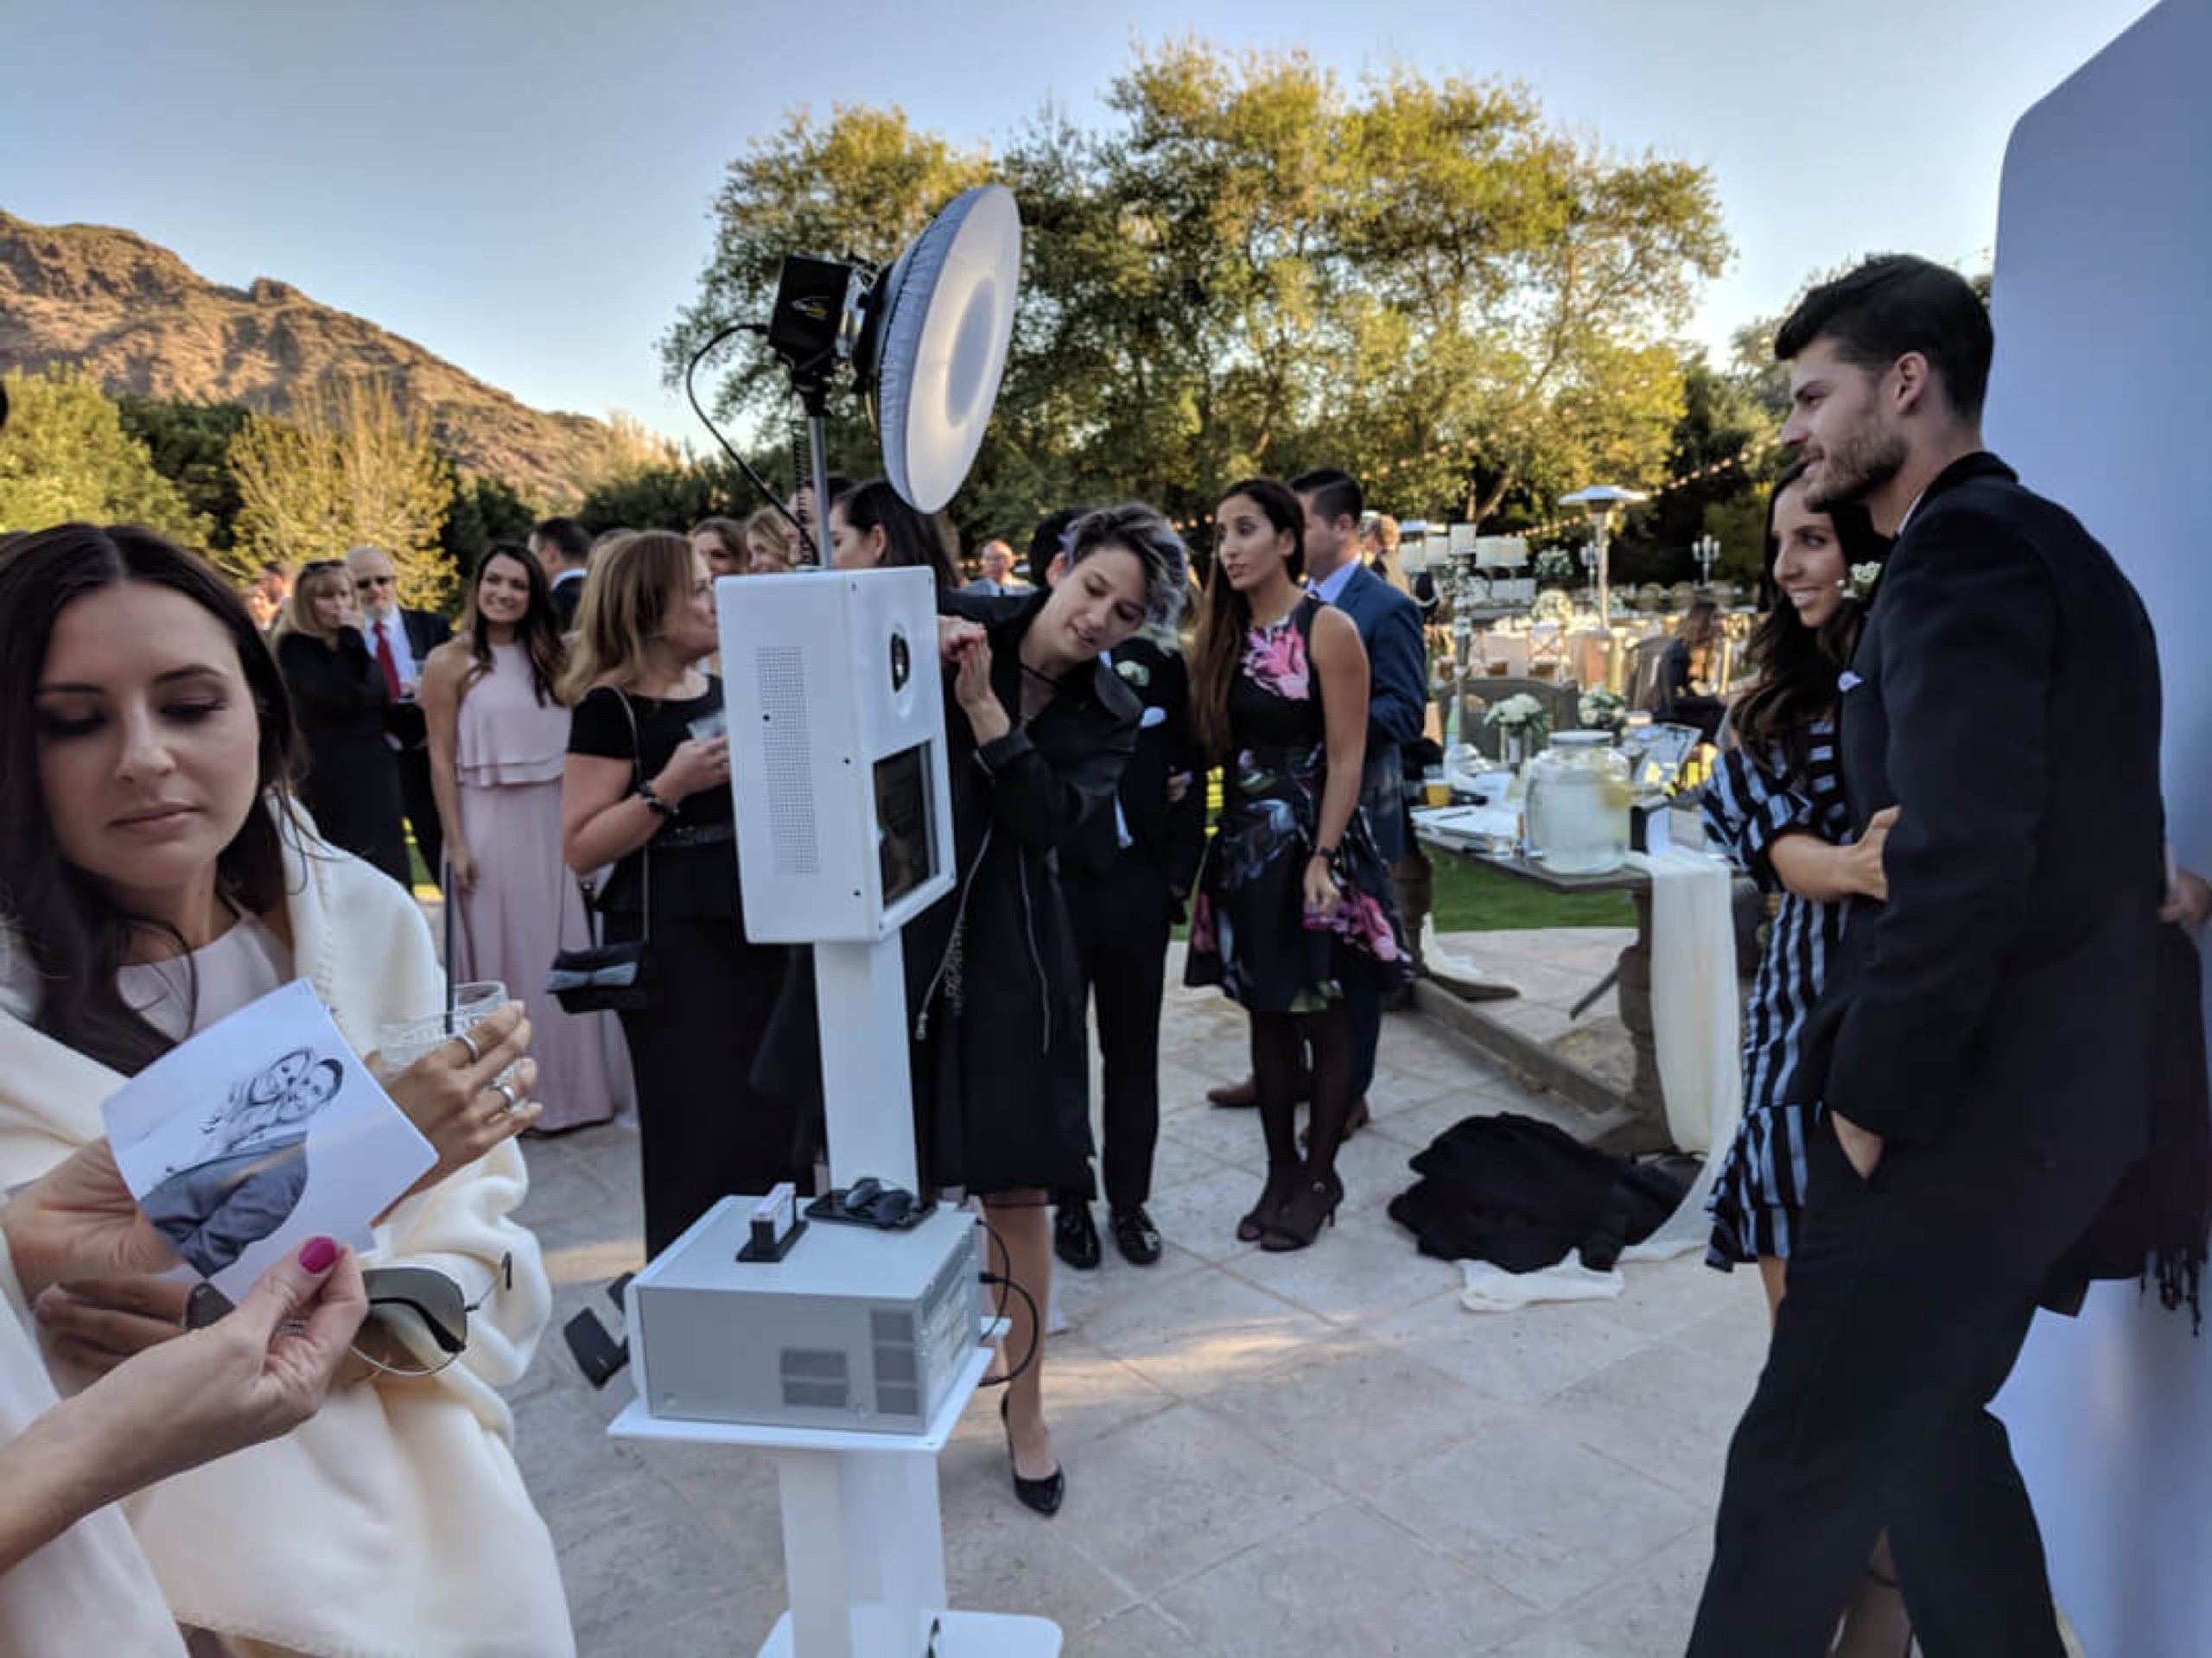
You know the photo. Somebody at the reception holds a phone up over the table and fires. Everyone comes out faintly orange, the back row is a grainy smudge, and the 8 x 10" a guest tries to print later lands soft and blotchy.
Now picture the print your guests carry out of one of our booths — sharp, correctly colored, still crisp on a fridge two years later.
That gap is not luck and it is not a filter. It comes down to three unglamorous things a phone in a dim ballroom cannot control: resolution, white balance, and noise. Here is what each one means (and why we fuss over all three before a guest ever steps in front of the camera).
Megapixels and the 300 DPI Rule: What a Print Actually Needs
The 300 DPI rule comes from the printing industry and is the closest thing photography has to a universal rule of thumb. DPI stands for "dots per inch." Say you want an 8 x 10" print: the shop assumes it will be seen from at least an arm's length, and at that distance 300 DPI is good enough that individual pixels never stand out. The image reads as seamless.
Distance changes the math. The farther away the viewer, the lower the DPI you need — a billboard is fine at 50 DPI, because nobody stands an arm's length from a billboard.
So how much camera do you need? Multiply each dimension by 300, multiply the two sides, divide by a million: length x 300 (pixels) x height x 300 (pixels) / 1,000,000. For that 8 x 10", the answer is 7.2 megapixels. (One megapixel is one million pixels — the tiny photo-diodes crammed onto the sensor that catch light and convert it into an electronic signal.)
So why is every camera sold on a bigger number? Partly marketing, partly legitimate — higher resolution does earn its keep in commercial work like stock photography. But the spec sheet leaves out lens sharpness. Pair a 24.2 megapixel D5300 with an 18-55mm VR kit lens and you get roughly 9 Perceived Megapixels: a sharp 8 x 10", not the 20 x 13" the specifications claim. The glass decides how much resolution survives.
That is why our Classic Photo Booth runs professional camera and lens hardware, not a tablet with a big number on the box. A 4x6 print has to hold up in somebody's hand, at arm's length, for years.
White Balance: Why the Room Turns Everyone Orange
Ever wonder why a child's portrait comes back a strange orange instead of the skin tone you saw with your own eyes? Or why a guest picks up a blue cast nobody asked for? That is white balance — the camera failing to counter the color of the ambient light. It shows up hardest exactly where events happen: tungsten and fluorescent fixtures, and open shade outdoors.
Three ways out. Auto white balance is pre-programmed in and does a good job most of the time. Presets — shade, cloudy, tungsten — are tuned to specific conditions, so don't forget to change the setting when the light changes. Manual lets you dial in a color temperature, expressed in degrees kelvin.
Color has a temperature. It is not a measurement of how hot the light source is; it represents the color of the light. The hotter the temperature, the bluer the color. The cooler the temperature, the warmer.
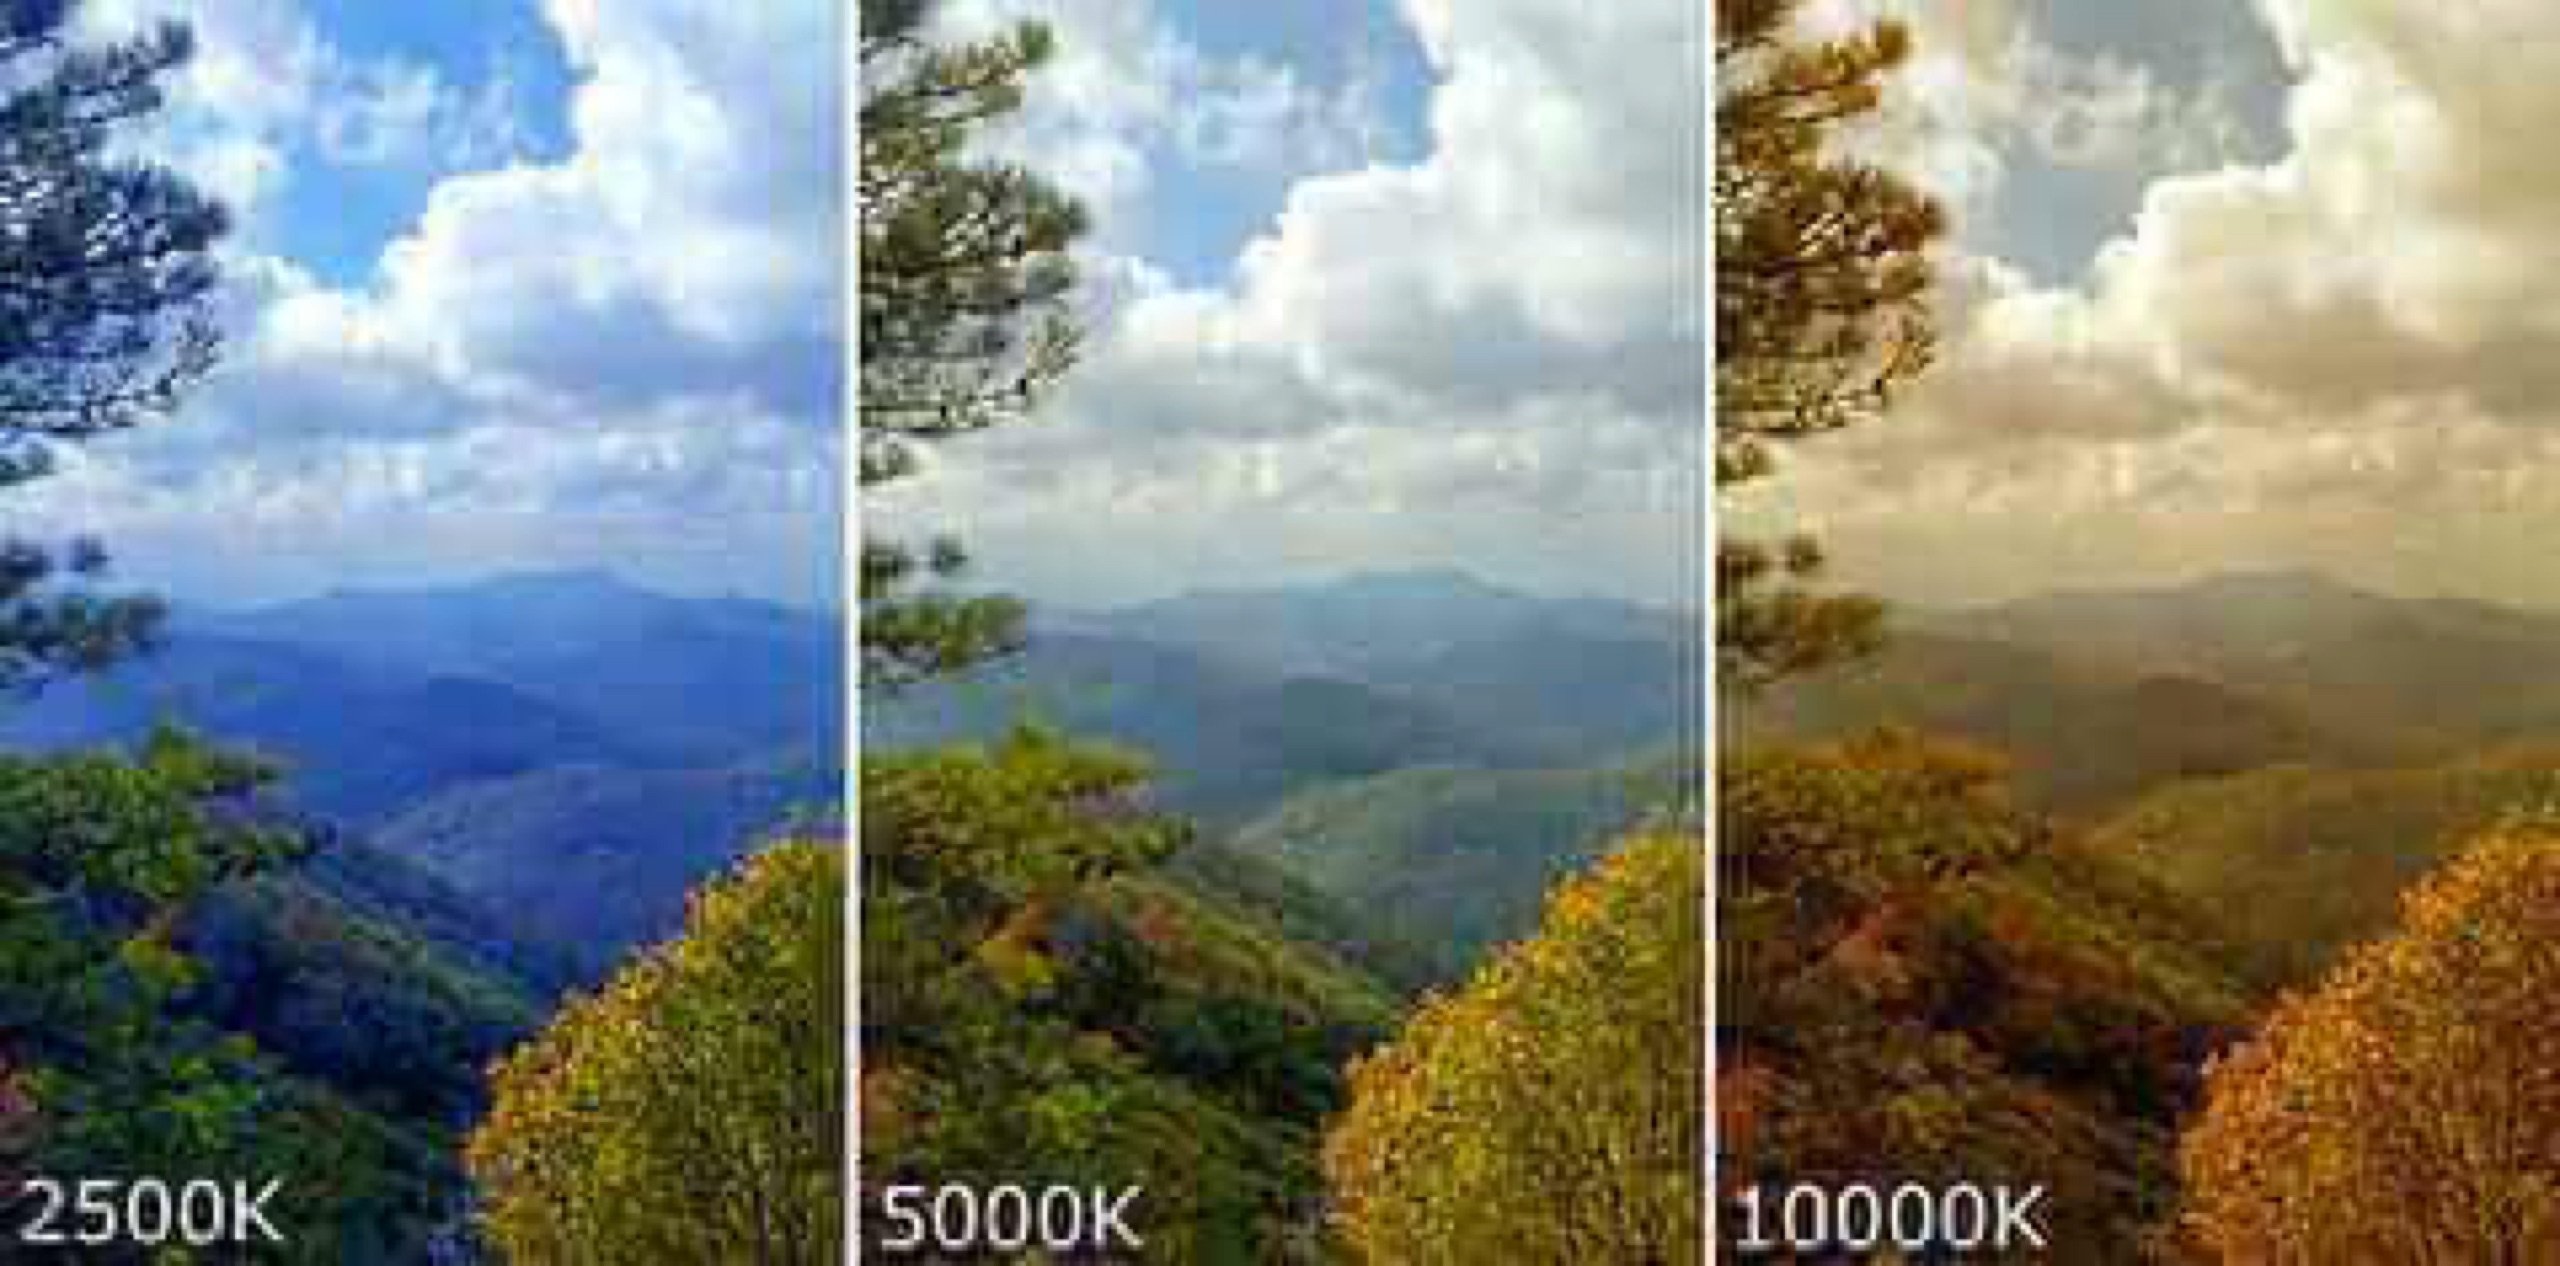
You can memorize the kelvin chart for six to eight situations, or carry a cheat sheet. We carry an 18% gray card instead: shoot one frame of it, set that as the white balance indicator so the camera matches the gray, then shoot the session knowing the color is honest.
We capture RAW too, which buys a second chance — corrections happen in post-processing without losing image data. (Shoot JPEGs and you can still make "faux" adjustments; they just won't be quite as good.) The discipline is staying true to the room's natural hues instead of going over the top.
Skin tone is the whole ballgame for a Glam Booth portrait. Studio lighting plus a locked-in white balance is what lets the glam finish soften skin without turning anyone into a stranger.
Noise: The Grain That Shows Up When the Lights Go Down
Ever taken a picture when the lighting was less than perfect, only to find the image turned out grainy — even at high resolution? In photography, we call that "noise."
It is a big issue for two reasons: it produces a messy-looking photo, and if you intend to sell or publish the image, noise is a major detractor to buyers. On a casual family snapshot it may go unnoticed. On a brand asset headed into a deck or a printed banner, it is the first thing an art director sees.
The repairs run on a spectrum:
- Lightroom's noise reduction is handy for light-to-moderate noise, but it essentially introduces a global blur, so some detail is lost across the whole frame.
- Photoshop's blur tool does almost the same thing but lets you be selective. Duplicate the background layer (Command / Control + J), apply Filter > Blur > Surface Blur, then add a layer mask and paint with black wherever you want the original detail restored.
- Both together is the move for a genuinely noisy frame: one copied layer with Filter > Noise > Reduce Noise, a second copy with surface blur, then the mask.
Every one of those is a rescue, though. The better answer is not needing one: proper lighting, RAW capture, and a sensor never pushed into the dark to begin with.
Prints and Brand Assets: Why Any of This Matters to You
Your guests will never say the words "dots per inch." They will absolutely notice the result.
A print still sharp on the fridge next year. A portrait where their skin looks like their skin. A file clean enough that your marketing team crops it straight into the recap deck without apologizing.
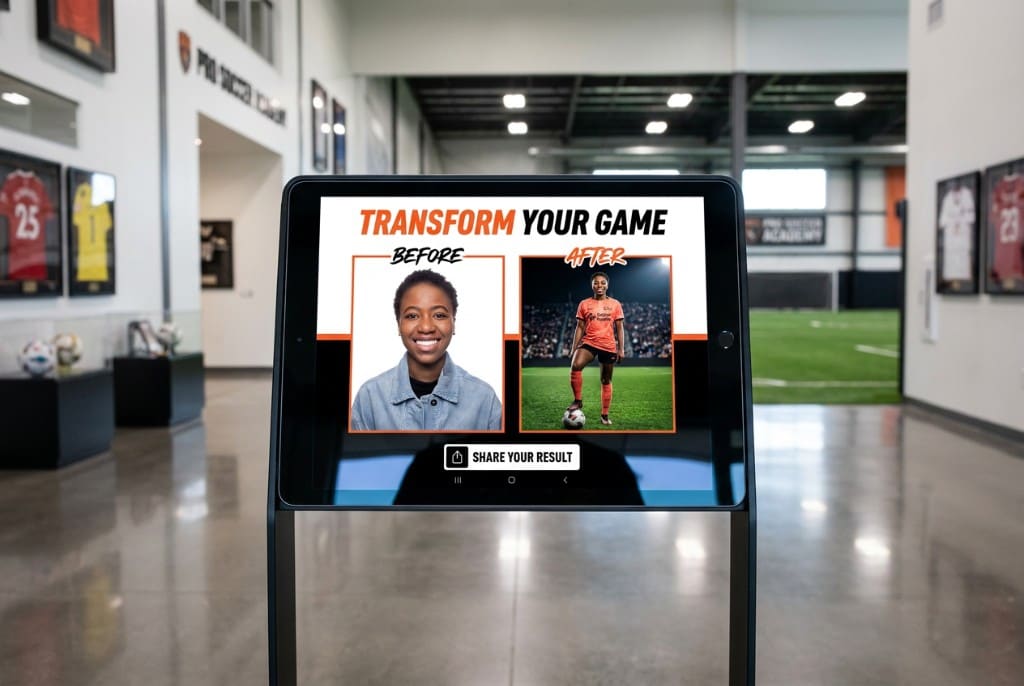
Capture quality is the foundation under everything else we build. Our AI Photo Booth is only as good as the frame it starts from — hand it a noisy, orange-cast image and it faithfully renders a noisy, orange-cast person. (Garbage in, garbage out is not only a software problem.)
Planning around print sizes, footprints, or file specs? Our resources page collects the setup and space requirements for every experience in one place.
Want Photos Worth Printing?
Tell us about your event and what the images need to do afterward — keepsake prints for guests, clean assets for your brand team, or both. We'll match the booth, the lighting, and the print format to the job. Let's make your next event unforgettable!
Get a Quote